The art of making a classic Indian paratha
The paratha is more than an unleavened flatbread – it feels and tastes like home to the diaspora from the Indian region, where it is a staple food. Although it has been part of Indian culinary culture for centuries, its origin can not be pinpointed. We see the paratha in its many forms eaten in the Middle East, the Caribbean, South Africa, and Southeast Asian countries like Singapore, Malaysia, Thailand, and Mauritius, where wheat is a traditional staple grain.
In the Indian region, the paratha enjoys ubiquitous popularity as a versatile flatbread sold at street-side cafes. Its ‘puri-paratha’ version is a beloved menu item at festivals and weddings, usually served with barbecue foods.
Today, we tell paratha fans how to craft the classic Indian paratha at home and the best way to serve it. Days when you can afford the luxury of time, enjoy a fulfilling experience in your kitchen with this guide.
The art of making a good paratha
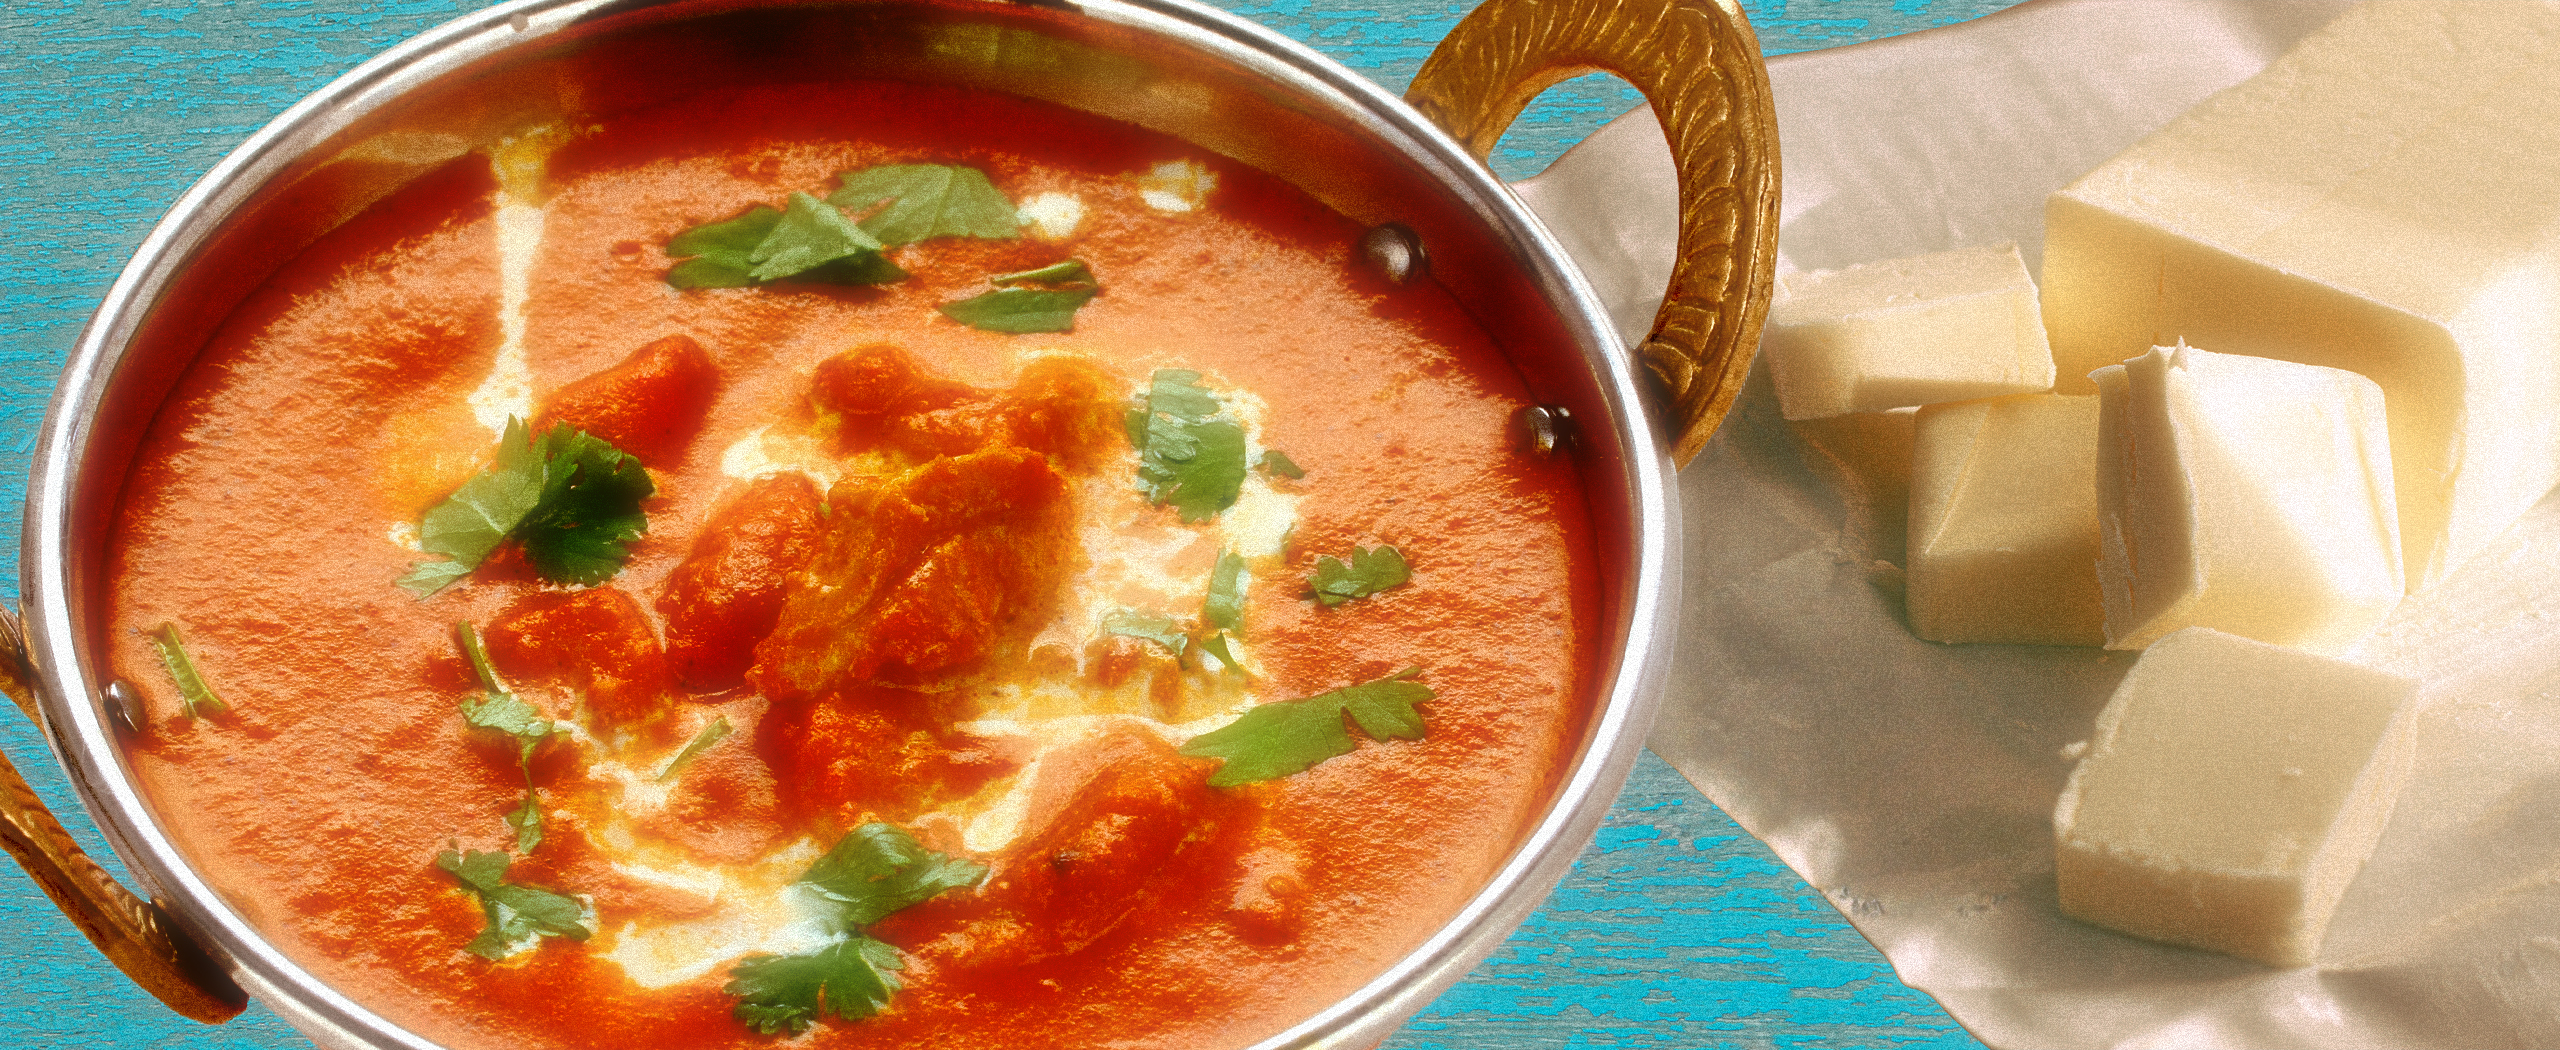
Not only is paratha part of a traditional breakfast, paired with an omelet, desi pickle, and chai, but it’s highly customizable and versatile. You can enjoy it plain, as a befitting side for kebabs and Indian curries. Or you can fill it with a stuffing of your choice – potatoes, mixed veggies, and minced meat make the most popular variations.
As you read on, paratha lovers will see that the classic paratha is not as difficult to make as it seems, but rather recreating the true plain paratha experience is doable.
Step 1: Choose your flour type
It all begins with the dough, or more precisely, the flour you use. Whole wheat flour (known as atta at Indian stores) is usually used to make parathas. However, you can also use the refined white flour called ‘maida’, which is quite like the all-purpose flour. The difference between the two is that whole wheat flour contains all parts of the grain, whereas white flour excludes the bran and germ, and is often bleached for a lighter color. So, while whole wheat flour typically packs more nutrients, you can use either to make your paratha dough.
Keep in mind that the texture of the dough made from whole wheat flour is less stretchy and more coarse due to the presence of bran and germ. A whole-wheat paratha is darker brown and has a denser and chewier texture. On the other hand, a paratha made from white flour or maida is smoother, more tender, and flakier. You must also remember that the all-purpose flour is not the same as the refined white flour or maida – it’s a product of soft and hard wheat types, and does not make parathas as crispy or flaky.
Step 2: Get the dough right
Getting the dough right is perhaps the most important step in making the perfect paratha. You’ll find a dozen different ways of making the dough, and find a zillion tips on how to do it right. Here is one that is tried and tested. It guarantees your dough will have the classic paratha characteristics built into it.
Start by adding a pinch of salt to the flour and then a little clarified butter (ghee) or oil. Rub the ghee into the flour slowly until you can no longer feel any lumps. Distributing this fat into the dough at this step allows the flour to absorb it, setting the stage for a paratha that is soft on the inside.
Now, make a little well in the middle and start adding water to it. Using warm water usually helps the mixture come together quickly and results in a smoother dough. Add water in increments as you knead the dough – you’ll have to wet your hands several times until your fingers feel consistent smoothness.
The quantity of water versus the flour is a critical aspect at this stage. It often depends on the type of flour you are using. Make sure you add water in small amounts, and use only as much as makes the dough soft, but keeps it firm enough to roll out.
Step 3: Let your dough relax
This is a very important step, but one that is often overlooked. Kneading the dough kick-starts the formation of gluten fiber. This process continues during the resting period when the dough relaxes, absorbs moisture, and becomes easier to handle in subsequent phases. Don’t forget to cover it with a damp cloth or cling film to contain the moisture when you put it to rest.
Step 4: Roll the perfect paratha
Once the dough has rested for an hour or so, it’s time to roll it out into parathas. Lamination is critical to rolling out the perfect paratha – it creates the maze of layers we love.
- To do this, roll out your dough ball into a thin crepe-like circle, brush it with some clarified butter or softened ghee, and sprinkle it with a little salt.
- Start rolling it in from one end, and shape the dough sheet into a tight log as you roll all of it in.
- Next, roll this long log of dough into a tight coil, and roll it out again. This time, as you roll it out, you’ll see rings built into the texture of the dough – the starting point of the famous paratha layers. Keep rotating and flipping the dough sheet to keep it consistently thick as you roll it out. But don’t kill yourself if you can’t get it to be completely round – it takes years of practice to master the perfect round paratha.
Step 5: Time to cook your paratha
You’re now ready to cook your paratha!
- Traditionally, a griddle is used to cook it, like most other unleavened Indian breads. Heating the griddle plays a critical role in the process, so make sure to preheat it on medium to high flame.
- Add a little ghee to the griddle and place the paratha on it. Cook it evenly over a low to medium flame, and allow the layers to develop. Once it puffs up lightly and turns a beautiful golden brown, it is ready to enjoy.
- Last-minute touch – give it a gentle scrunch to let the steam escape from inside – this will emphasize its characteristic layers.
Step 6: Serve ‘em with anything!
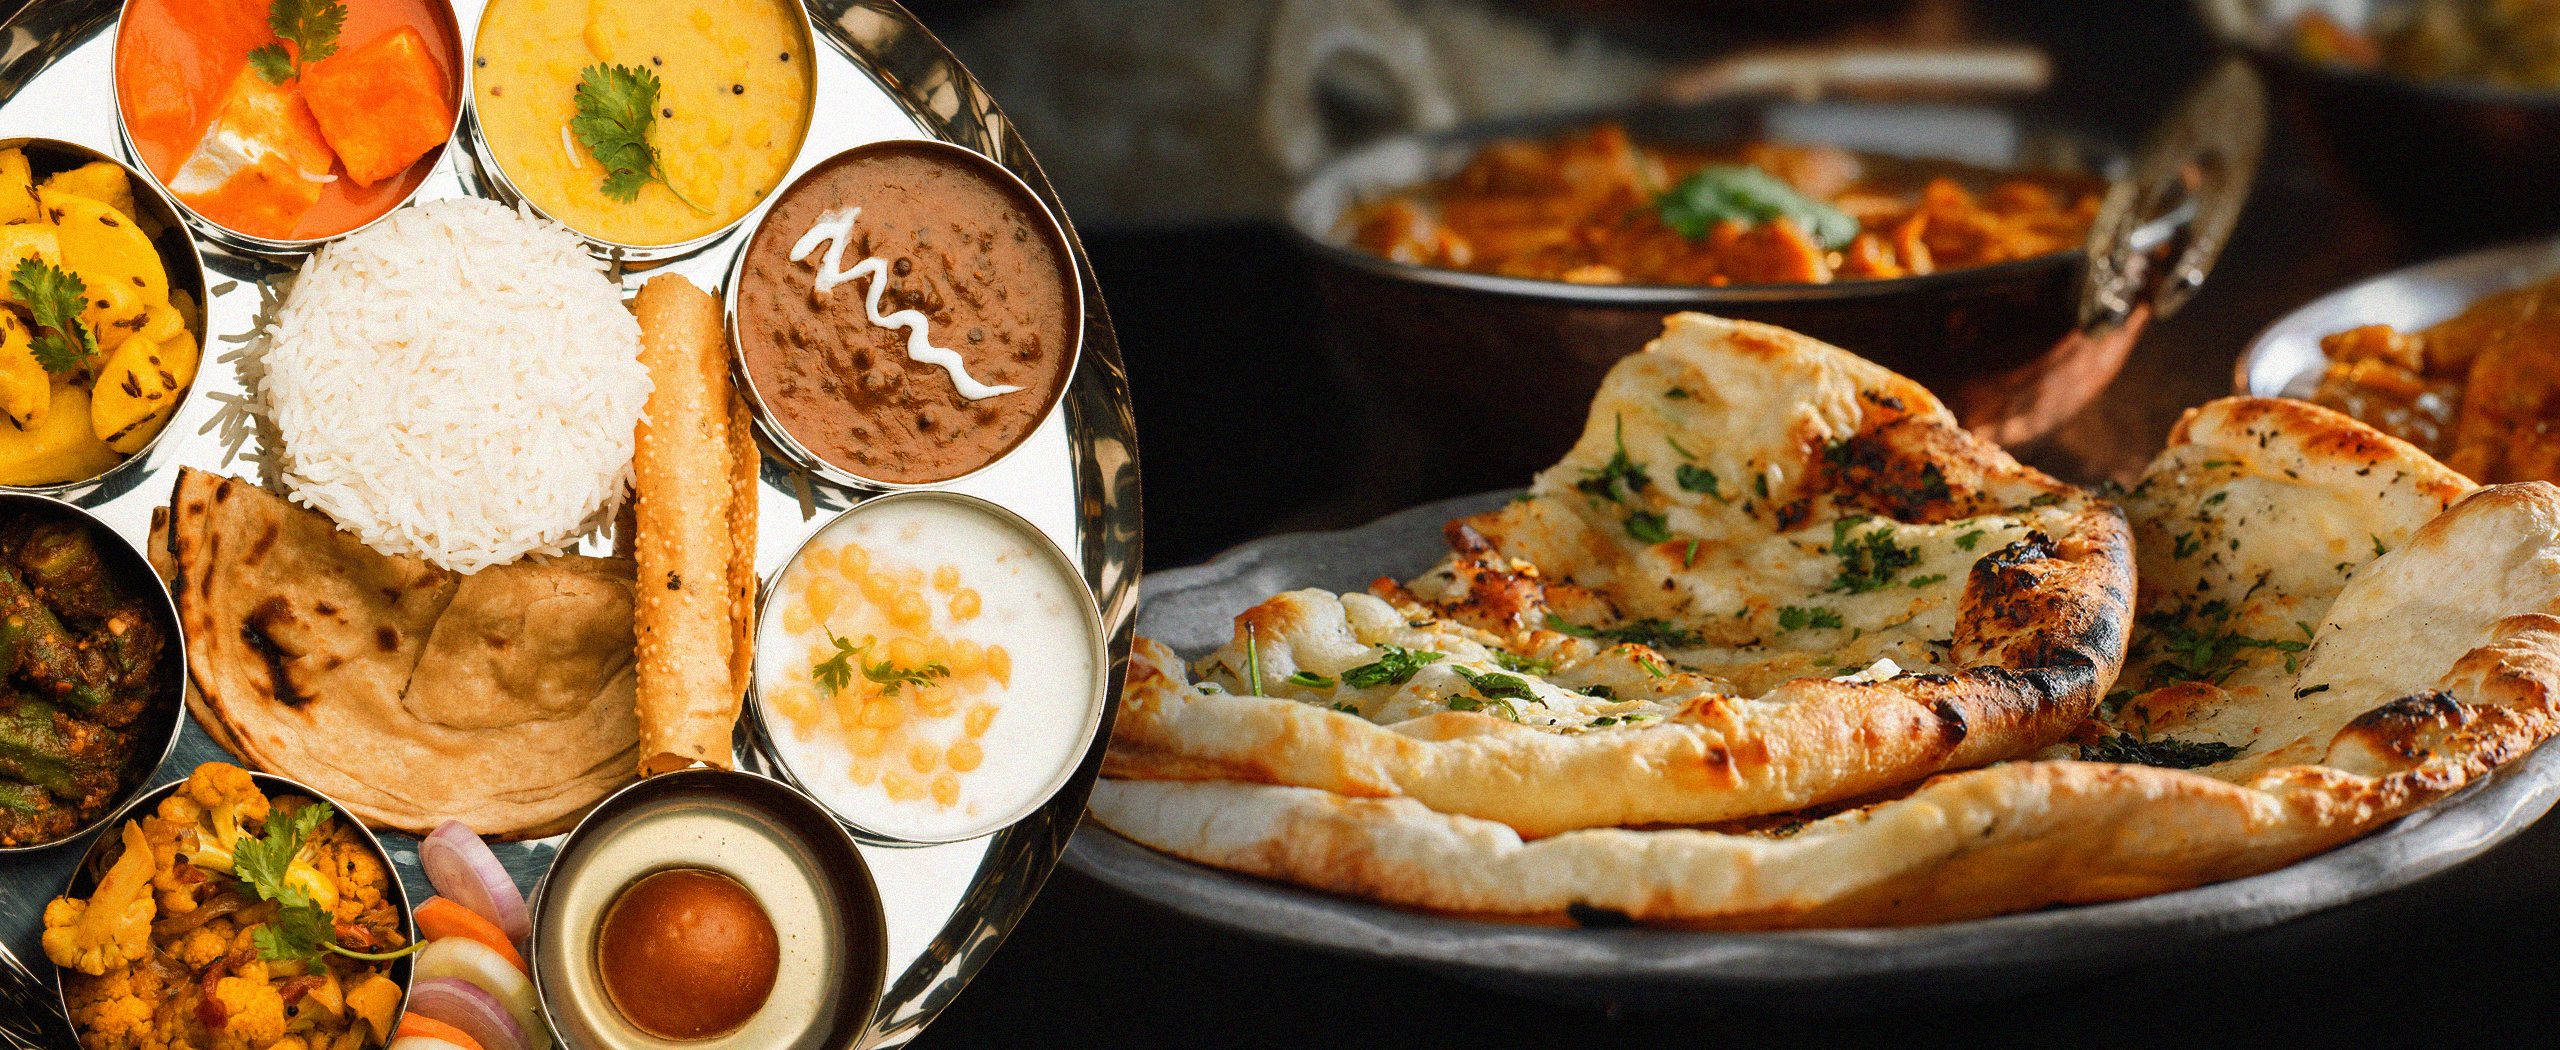
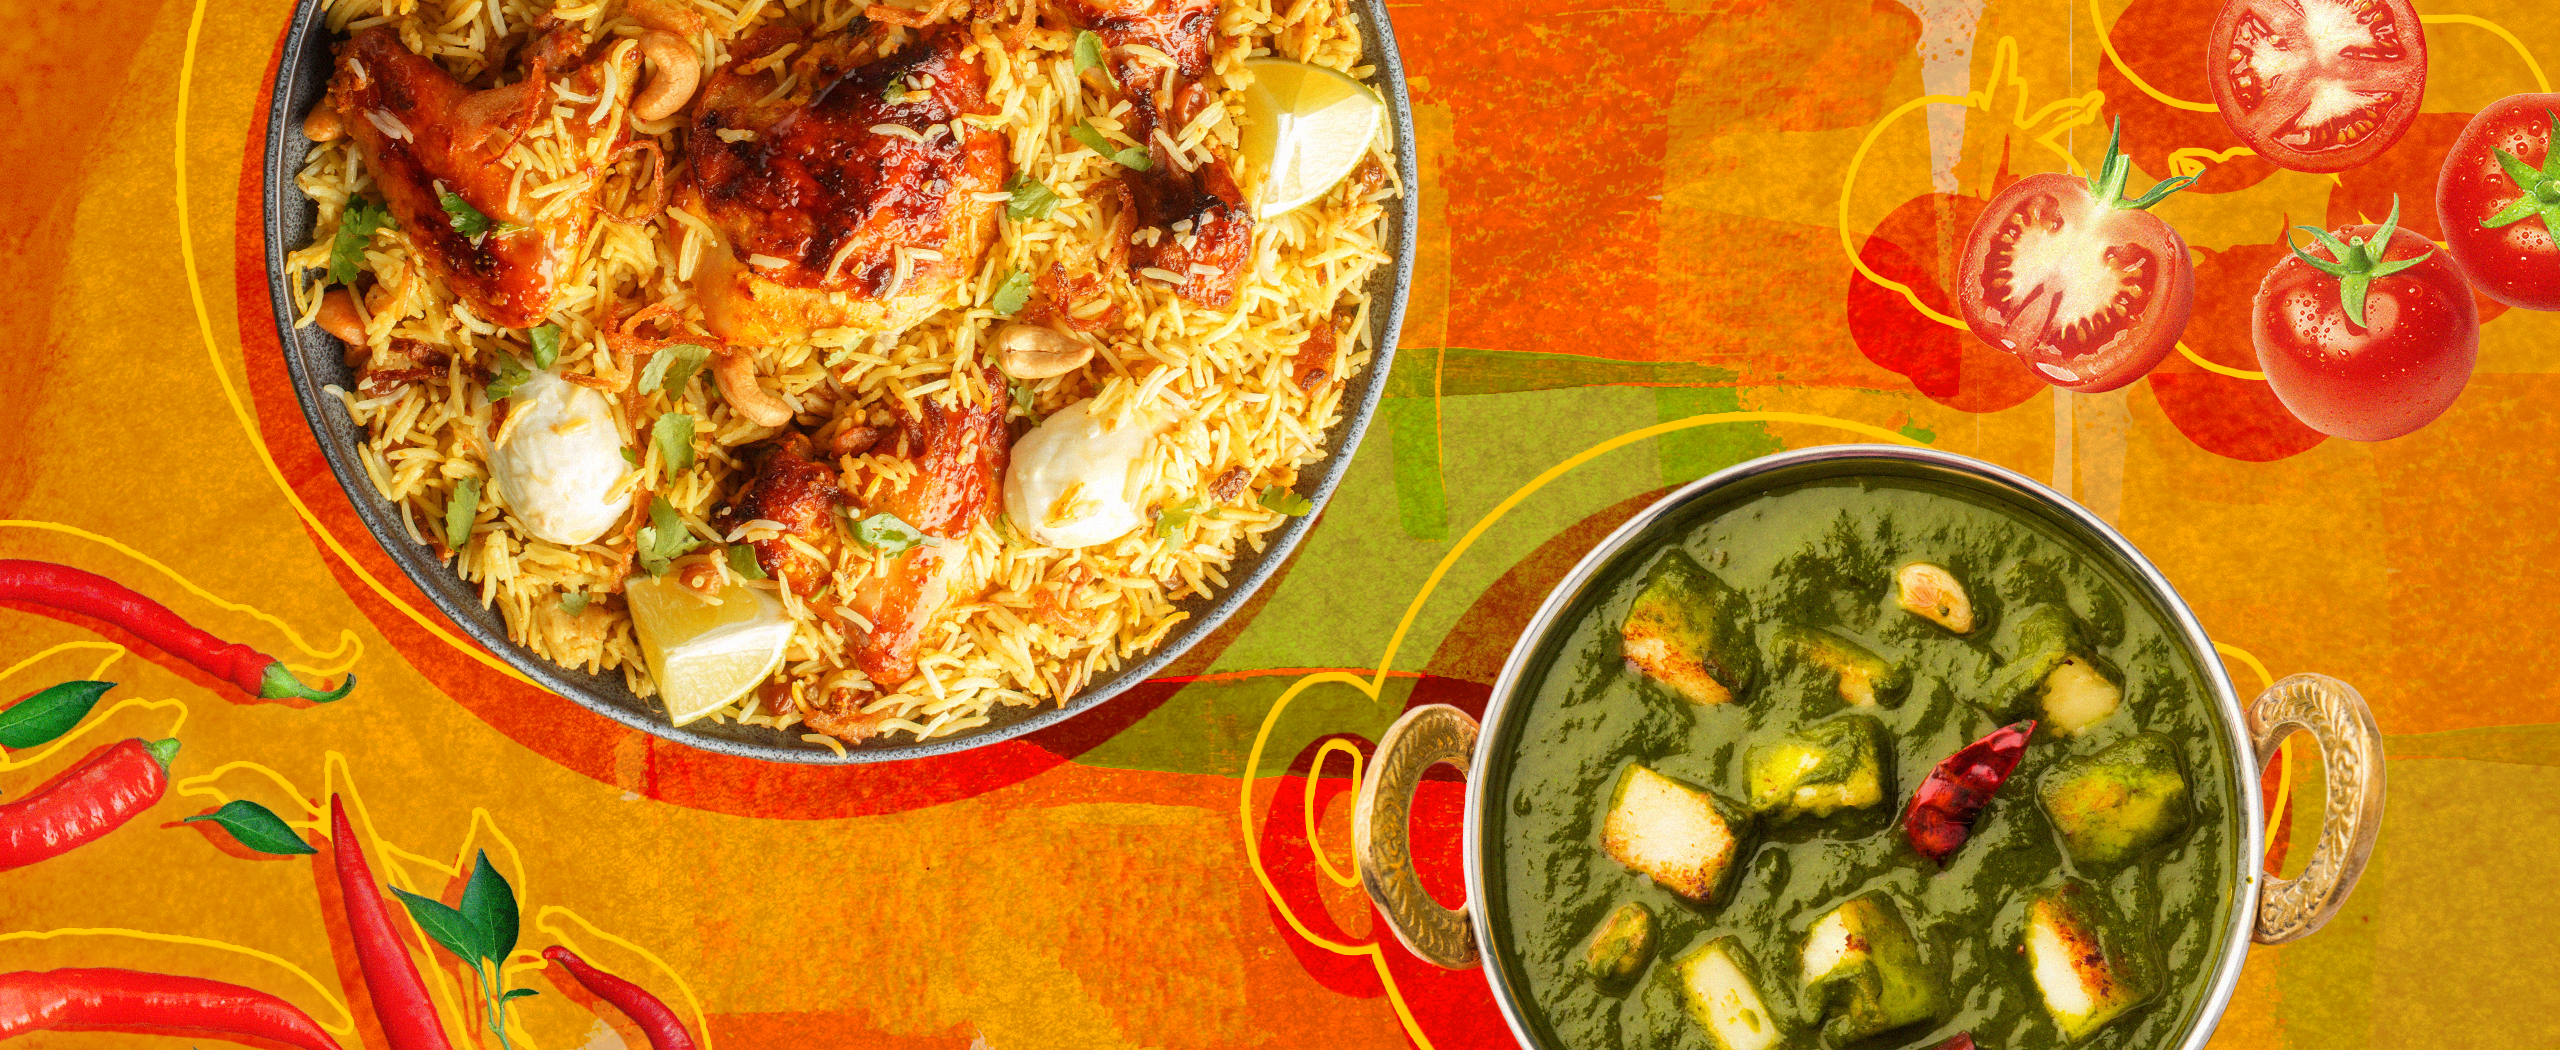
The best part of the experience is here, folks… pick your favorite curry or kebabs to go with your yummy parathas, or enjoy them for a classic breakfast with eggs. For a hearty traditional dinner, paratha makes an excellent side to vegetable, meat, or lentil-based Indian dishes.
Its beauty is that you can even enjoy it as a delicious side to many condiments, sweet and savory – the traditional mango or green chili pickle, the classic mint raita, chutneys made from plums and apricots, etc., and thick and creamy fresh yogurt.
A round-up of the ingredients
Well… this needs little disclosure.
Flour, ghee, water, and salt. As we said before, depending on the flour, other ingredients may vary a little. Someone familiar with kneading flour for Indian flatbreads like chapati or roti does not need to be told the amounts. They’ll make a practical assessment based on personal experience. But if you are new to the process, here is the information:
Water is double the flour, meaning that if you use 2 cups of flour, you’ll probably end up using 1 cup of water at different points during the process. Your pinch of salt can be as big as a quarter of a teaspoon, and the ghee or oil to knead into the flour, at least one tablespoon, if not a little more. If you don’t mind the calories, go with one tablespoon of ghee to cook each paratha.
Concluding words…
Cooking is an art that requires not just time but patience. Making paratha requires practice to get it right, especially the round shape and the layering process. But once you do get the hang of it, it gets easier. With that said, if you are a paratha fan but don’t always have the time for kitchen adventures, you can expect authentic flavors and textures with frozen paratha from Kaiser.